
Printing bottle labels can be a fun and creative way to personalize your bottles or jars for various purposes. Whether you want to label your homemade jams and beers or simply want to add a personal touch to your water bottle, printing labels is an easy and convenient option.
Choosing the Right Label Paper
The first step in printing bottle labels is to choose the right label paper. There are various types of label paper available on the market, such as gloss, matte, and clear labels. Each type has its own unique characteristics and it’s important to choose one that suits your needs.
- Gloss labels have a shiny and glossy finish, making them ideal for adding a professional touch to your bottles. They are also water-resistant, making them suitable for labelling bottles that will be exposed to moisture.
- Matte labels have a smooth and non-glossy finish, giving them a more natural and organic look. They are great for labelling homemade products such as jams or sauces.
- Clear labels are transparent and allow the colour of your bottle to show through. They are perfect for creating a sleek and minimalistic look.
Designing Your Label
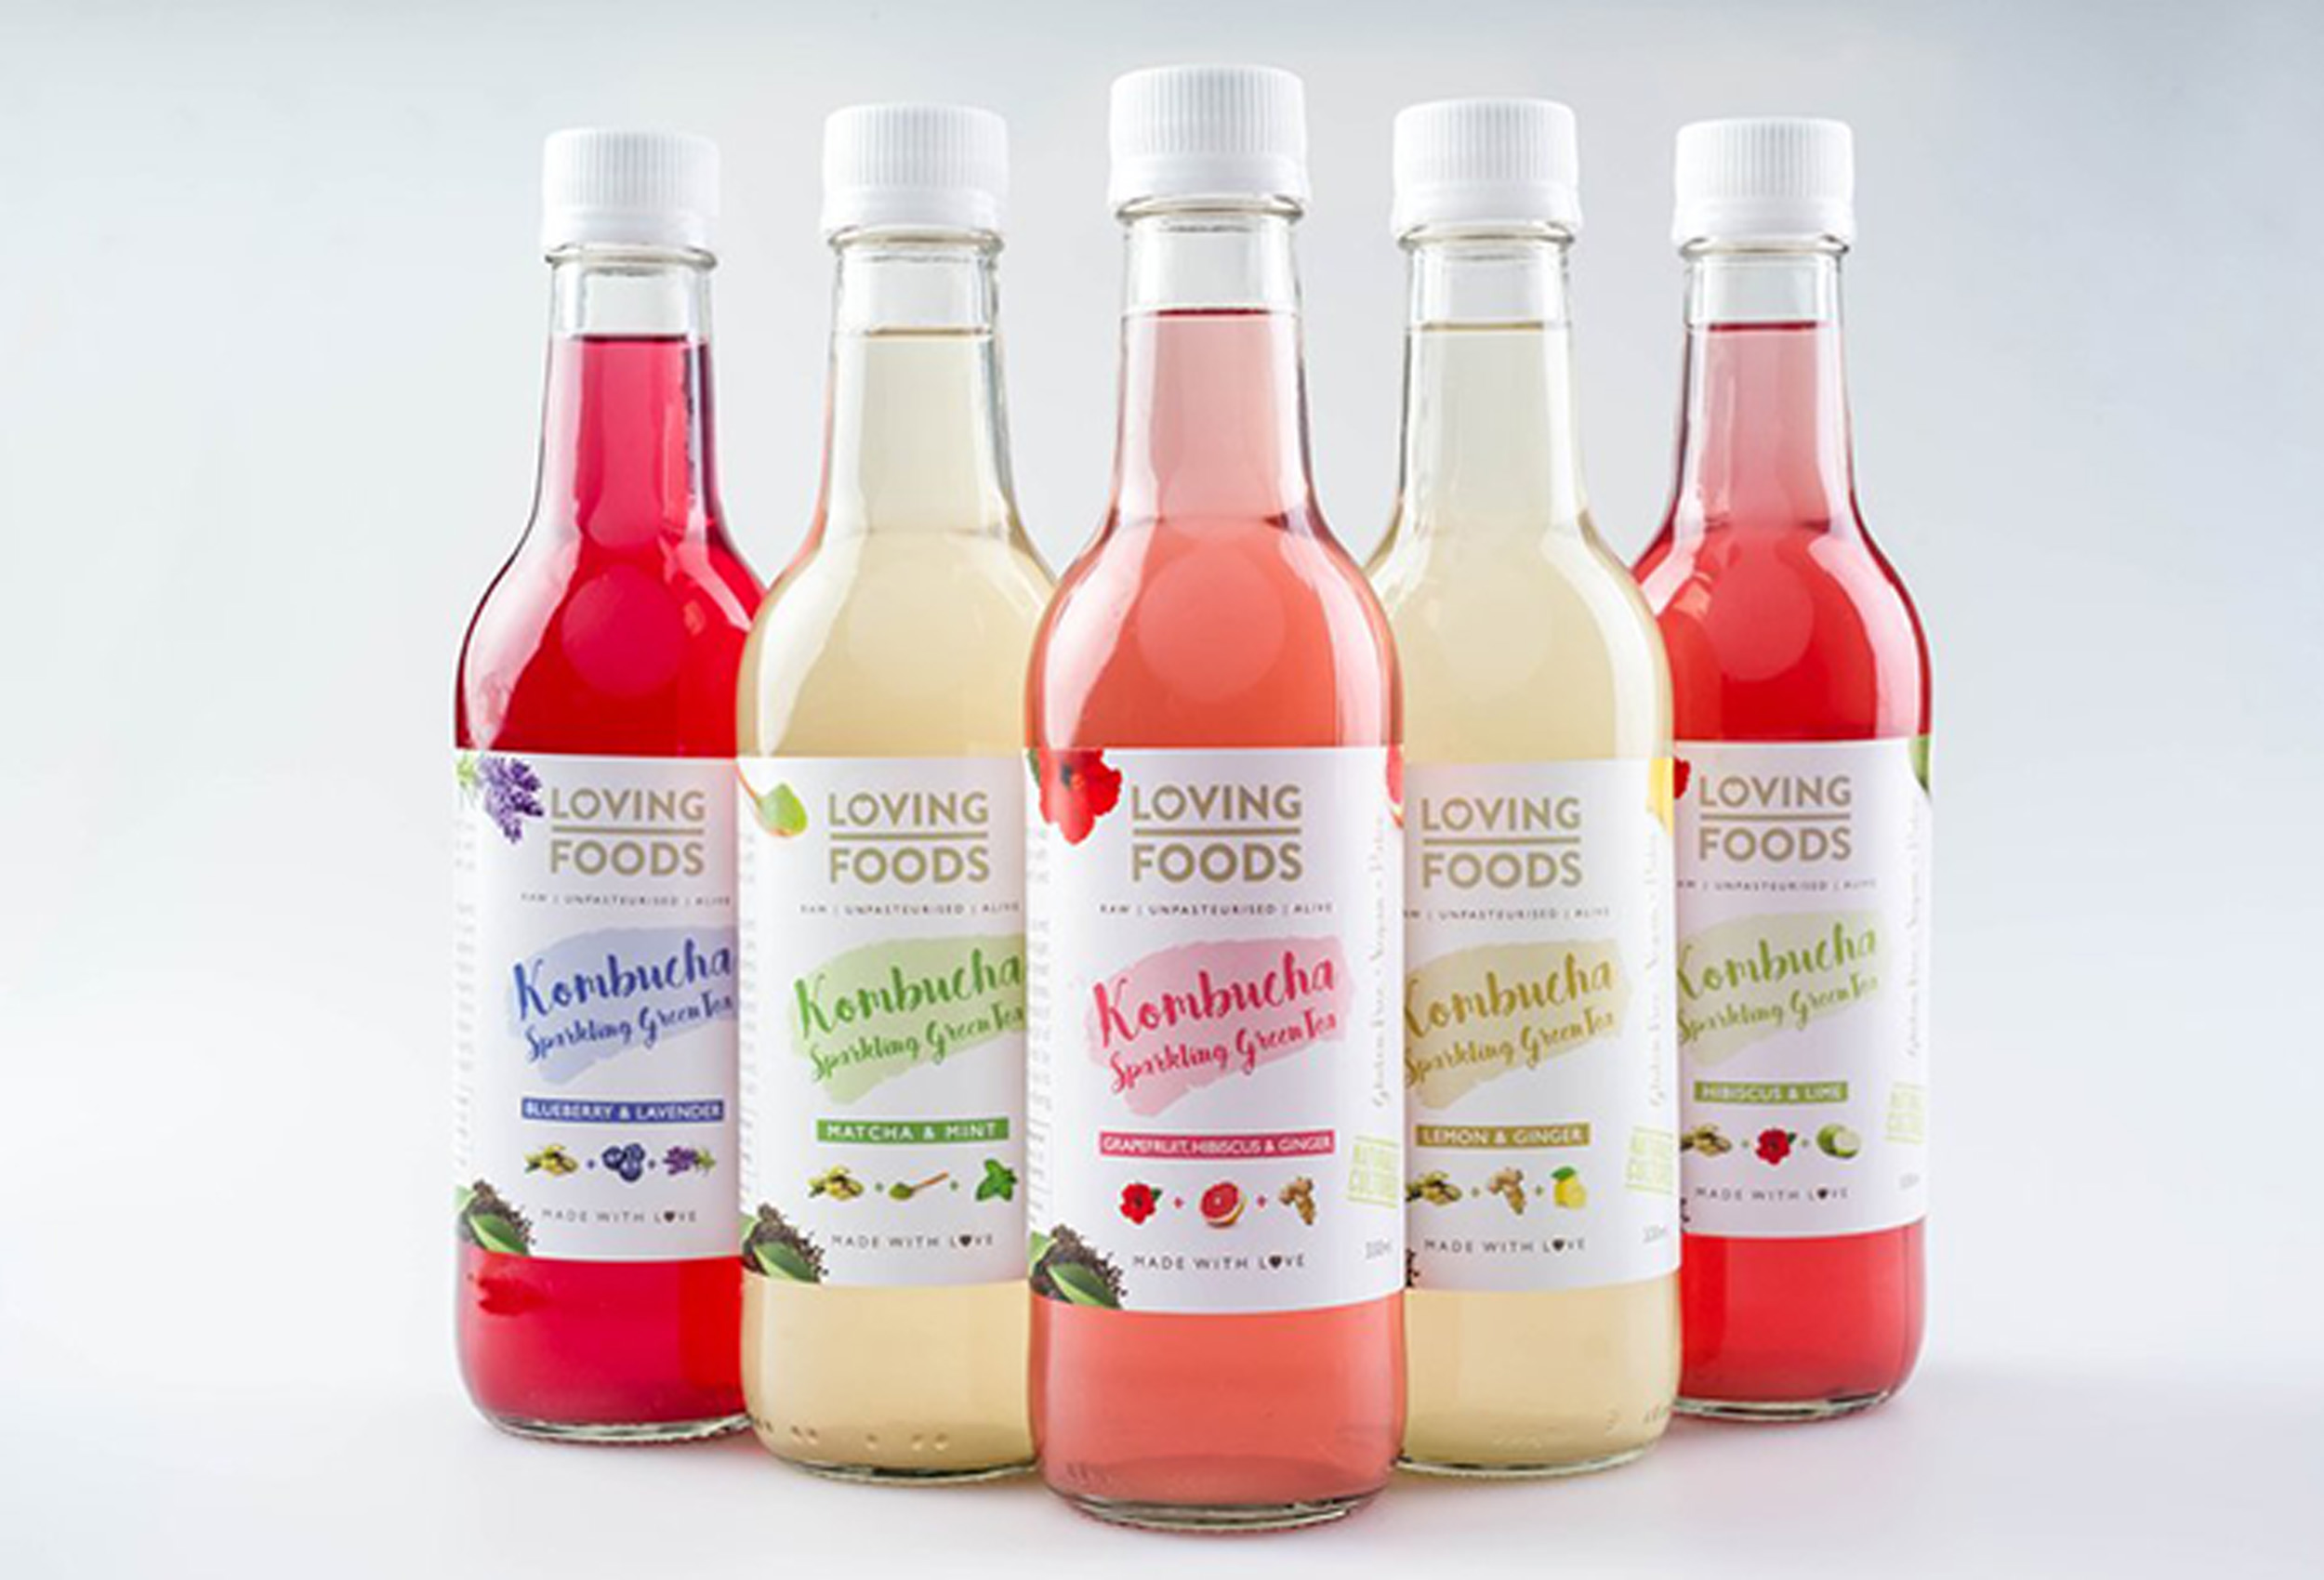
Once you have chosen the right label paper, it’s time to design your label. You can use graphic design software or an online label maker to create your design. Make sure to include all necessary information such as the product name, ingredients (if applicable), and any other relevant details.
- Keep the design simple and easy to read. Avoid using too many colours or fonts that may be difficult to read.
- Choose a font that is legible and matches the style of your product.
- If you’re using images, make sure they are high-quality and relevant to your product.
Printing Your Label
Before custom label printing, it’s important to do a test print on regular paper to ensure everything looks exactly how you want it. Once you’re satisfied with the design, you can print your labels on the label paper.
- Make sure to select the correct paper type in your printer settings to ensure the best-quality prints.
- If using clear labels, make sure to print on the adhesive side of the paper.
- Print a few extra labels in case there are any printing errors or if you need to make adjustments.
Applying Your Label
Once your labels are printed, it’s time to apply them to your bottles. Make sure the bottles are clean and dry before applying the labels.
- If using clear labels, be careful when removing them from the backing paper as they can easily tear or stick together.
- Apply the label evenly and smoothly, avoiding any air bubbles or wrinkles.
- For a more professional look, use a label applicator or specialized equipment for applying labels.
Conclusion
Printing bottle labels is a simple and fun way to add a personal touch to your bottles. With the right label paper, design, and printing technique, you can create unique and eye-catching labels for any purpose. So, get creative and start labelling those bottles!